 Since August was a month of experimentation in the kitchen, here are a two interesting non-cooking recipes I learnt from my very dear friend who believes do-it-yourself is the best way to live your life. Payal is nice enough to share her tips with me which has helped me with making healthier food choices. With her permission I share them with you. (Disclaimer: some of you cooking pros may be aware of these … well this is not for you. This is for people like me who have recently started the journey from processed to fresh and from ready made to trying it at home)
Everyday Salad Dressing:
This is the quickest and easiest thing I have ever learnt to do and solved a big problem I was facing. I love a daily salad, but I was not sure how to dress it up with the least amount of calories and zero time spent.
 Ingredients:
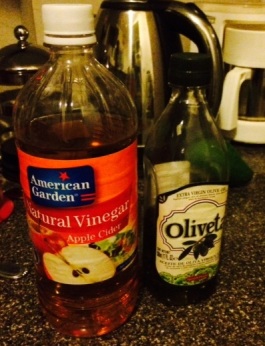
Extra Virgin Pure Olive Oil
Balsamic Vinegar or Apple Cider Vinegar
Pepper & Salt to Taste
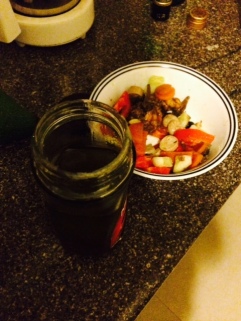
Take an old or new glass bottle fill it 50% with Olive Oil and 25% Balsamic vinegar or Apple Cider Vinegar. Add a pinch of salt and pepper and keep this in the fridge.
 Now is the best part every time you need a quick fix salad dressing, use this as a base (or as the dressing, it is quite yummy the way it is) and then based on what you are in the mood for, add in a little
- Mustard for tanginess
- Honey for sweetness
- Grated Garlic for pungency
- Add in dried herbs like thyme, rosemary or basil to make it fragrant
and THAT can give you a quick, healthy salad dressing that is stored in your fridge and can be used any time. Make sure you give it a shake before use.

Homemade Peanut Butter
I tried it this weekend and adds on to my last post of “Anytime Granola Bars”. I have already told you the importance of peanut butter, it did bother me that the processed stuff you get in the super markets is probably filled with more unhealthy ingredients then we know. I decided to go the do-it yourself route.
Peanuts ( roasted or non-roasted)
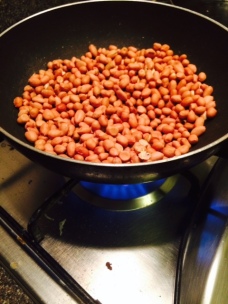
(*If you buy them already roasted then skip this step) Roast the peanuts in a deep pan on medium heat for about 10-15 mins. It needs to be monitored since they roast pretty quick.
Once they are roasted, remove the shell.
Place the peanuts in a regular Indian mixie/ blender and start off. Don’t get alarmed when it doesn’t magically turn into a paste it requires at least 10 minutes of time in the blender. But do check on it every 30 seconds on so to see the consistency.
 For creamy peanut butter you can add in olive oil or peanut oil. The quantity should be `15-20% in comparison to the quantity of peanuts ( eg: 500gms peanuts 100gms of oil )
You can add in Jaggery or honey to give it a sweeter taste. Put a spoonful for 500gms
Make sure you store it in a small jar like container ( similar to your pickle jars) and keep it in the fridge for a long life.
Your homemade peanut butter can be used on toast, or a peanut butter +
banana shake and most of all for the granola bars!!
Warning: Do know that this is home made and will never taste like “Skippy peanut butter” from the supermarket. They do add in loads of unknown stuff to create that very desirable taste. Nevertheless homemade peanut butter is quite yummy too, but will not replicate the taste of supermarket products.
Note you can try the same format for Almond butter too. I’m going to try it next week, but keep in mind almonds are WAY more expensive then peanuts!
More non-cooking quick tips to be shared soon. Thanks a lot Payal for being awesome and teaching me all of this.


